Fonts play an essential role in the construction of your ads, from call-to-action elements to longer text blocks and scripted messages within the creative. The Ads Manager Builder allows you to use, upload, and manage fonts directly, giving you full control over the typographic style of your ads.
Adding and Managing Fonts
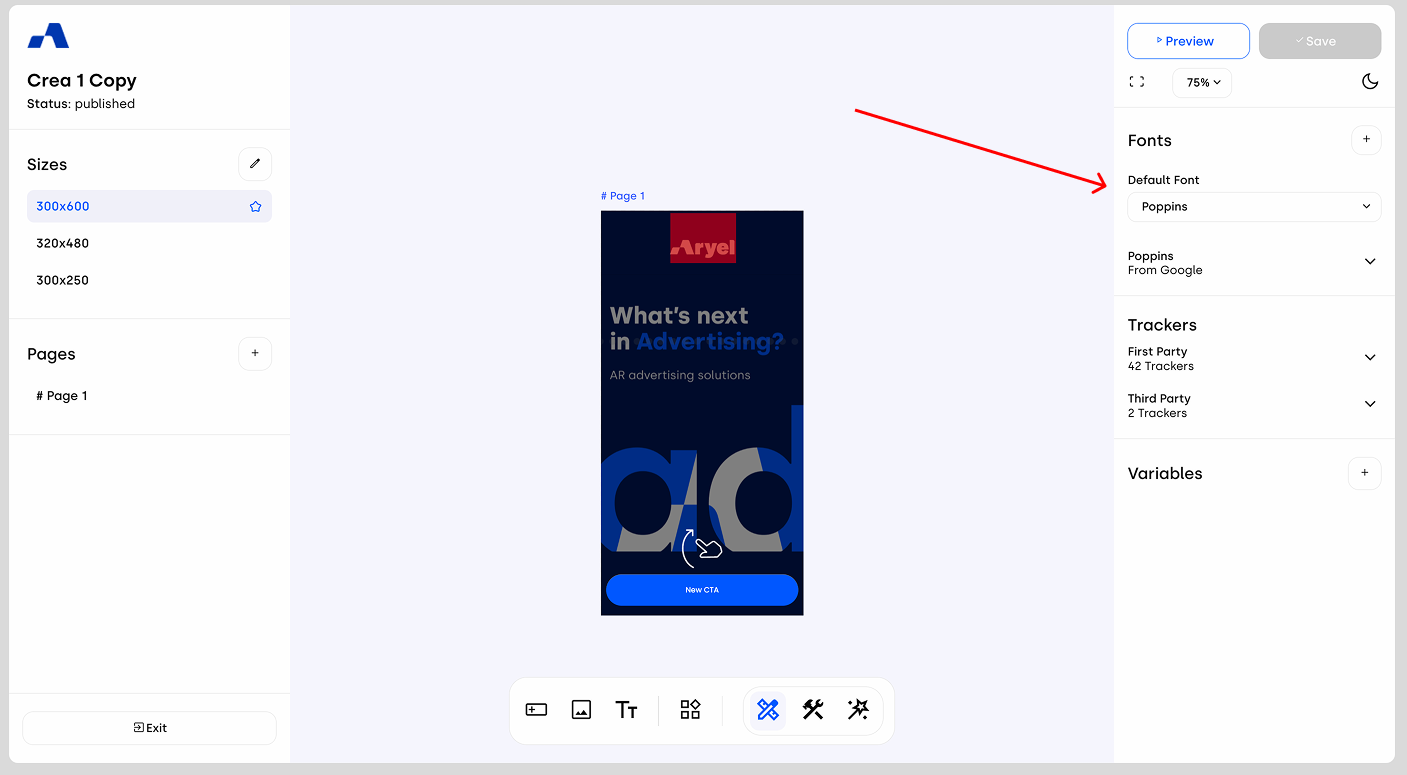
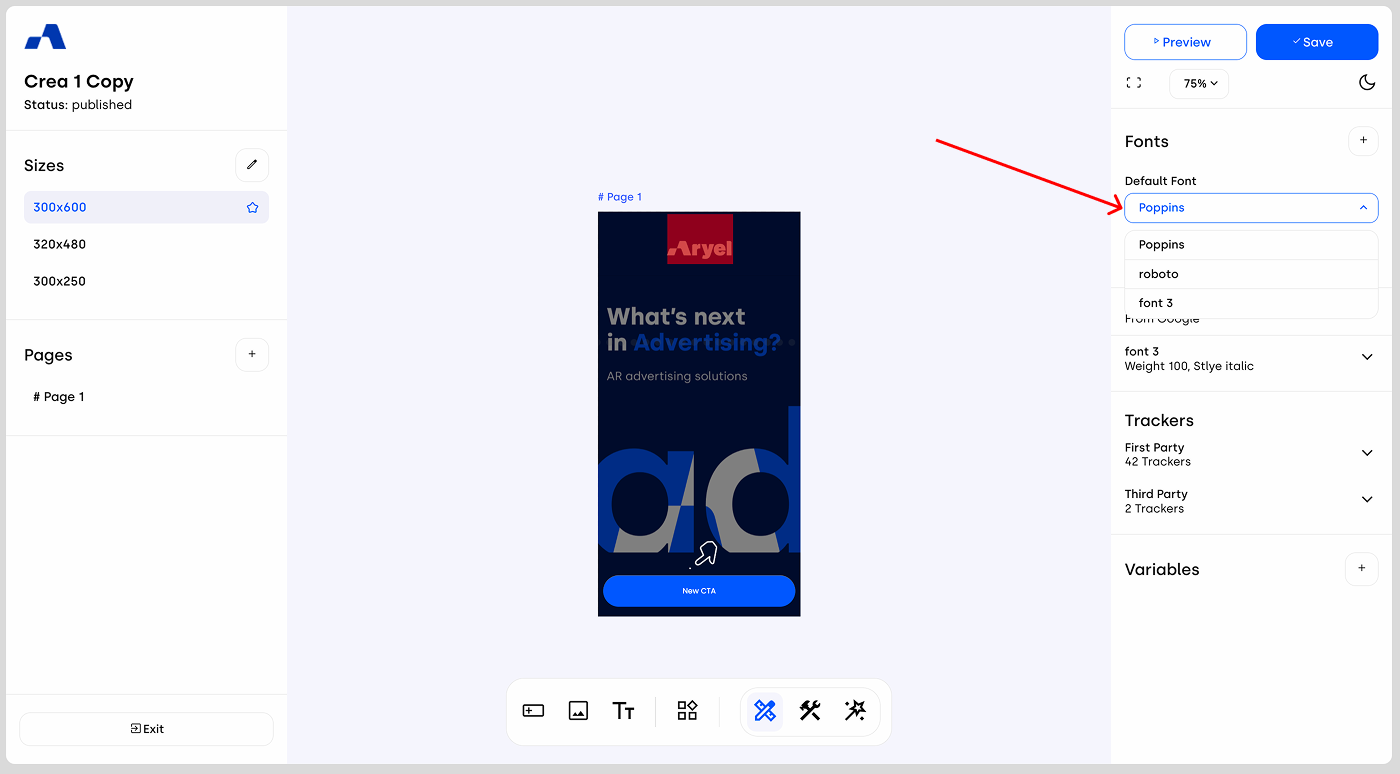
When no page or component is selected, the right sidebar displays the Fonts section. Here, you’ll find the default font, which is Poppins, already preconfigured.
By clicking the + button, you can add a new font to the list. There are two available methods for adding fonts:
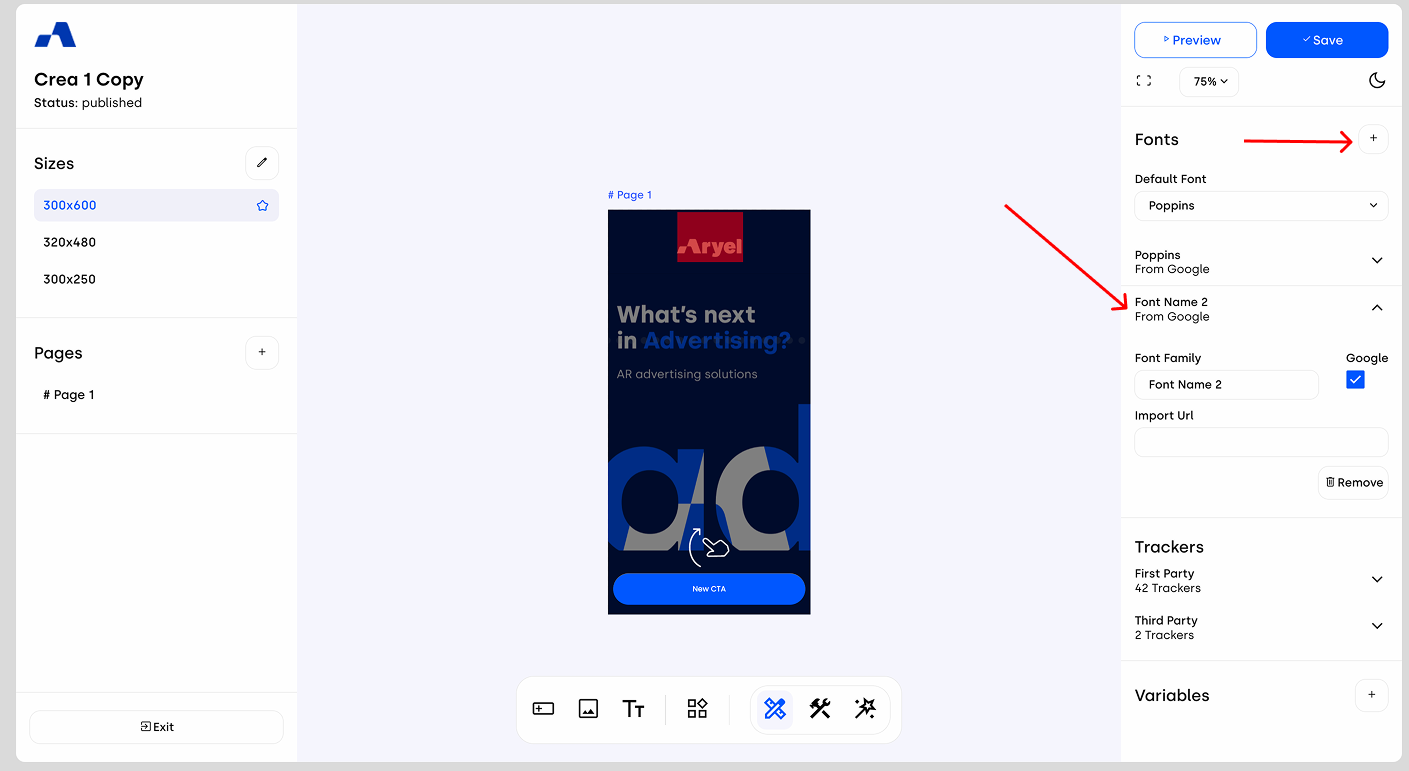
Google Fonts: If the font you want to use is available on Google Fonts, simply keep the Google option enabled, paste the font’s URL, and rename it using your preferred naming convention. The font will then be added to the list and made available for use. Below is a sample URL for your reference: https://fonts.googleapis.com/css2?family=Poppins:ital,wght@0,100;0,200;0,300;0,400;0,500;0,600;0,700;0,800;0,900;1,100;1,200;1,300;1,400;1,500;1,600;1,700;1,800;1,900&display=swap.
To learn more about how to get the URL, check this article.
Custom Fonts: If the font you want to use is not included in Google Fonts, you can disable the Google checkbox. This allows you to upload a custom font file in .woff2 format directly into the Ads Manager Builder. Once uploaded, you can define the font style and weight, and then rename it under the Font Family label.
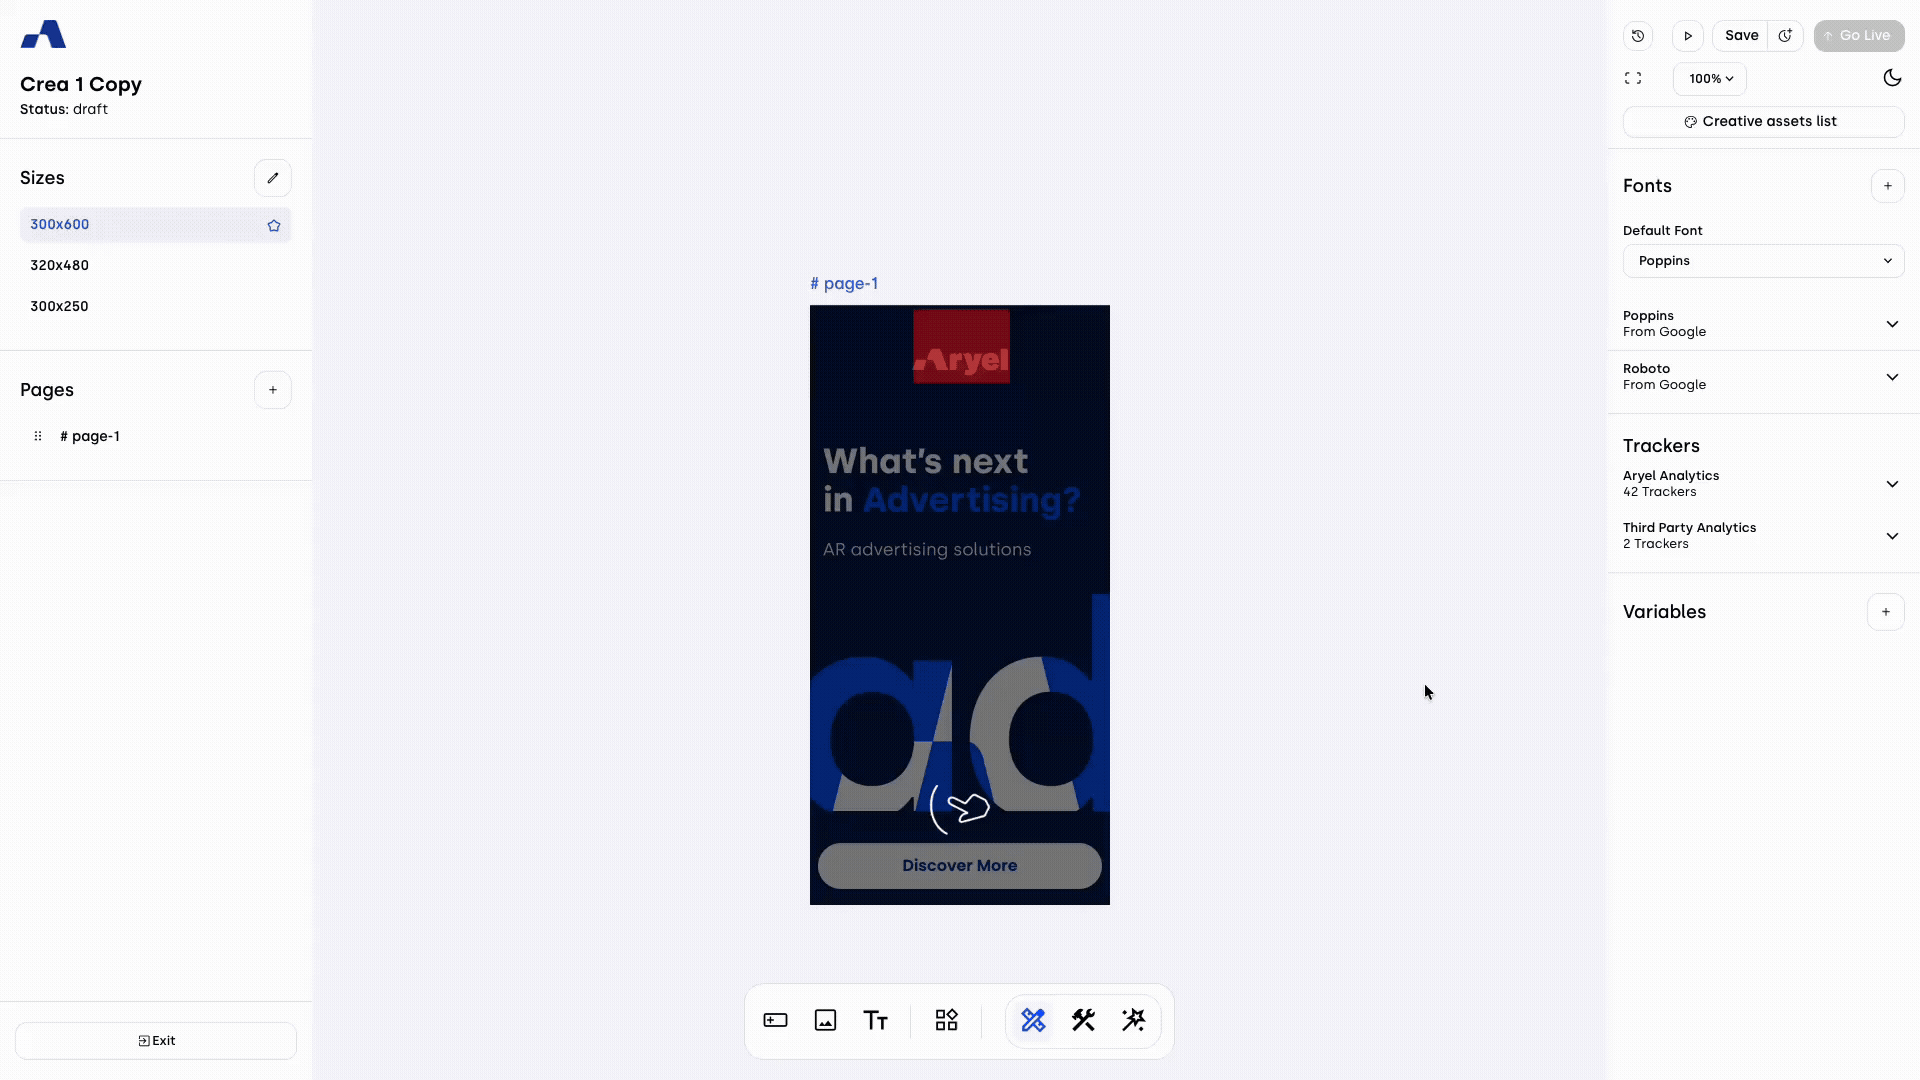
After a font has been added using either method, it will appear in the default font dropdown list. From here you can select the font you want to use, and it will automatically be applied and updated across all text components within the banner.
Managing fonts correctly helps ensure visual consistency and clarity across your creatives. By organizing and selecting fonts directly within the Builder, you can maintain full control over typography while keeping your creative workflow structured and efficient.