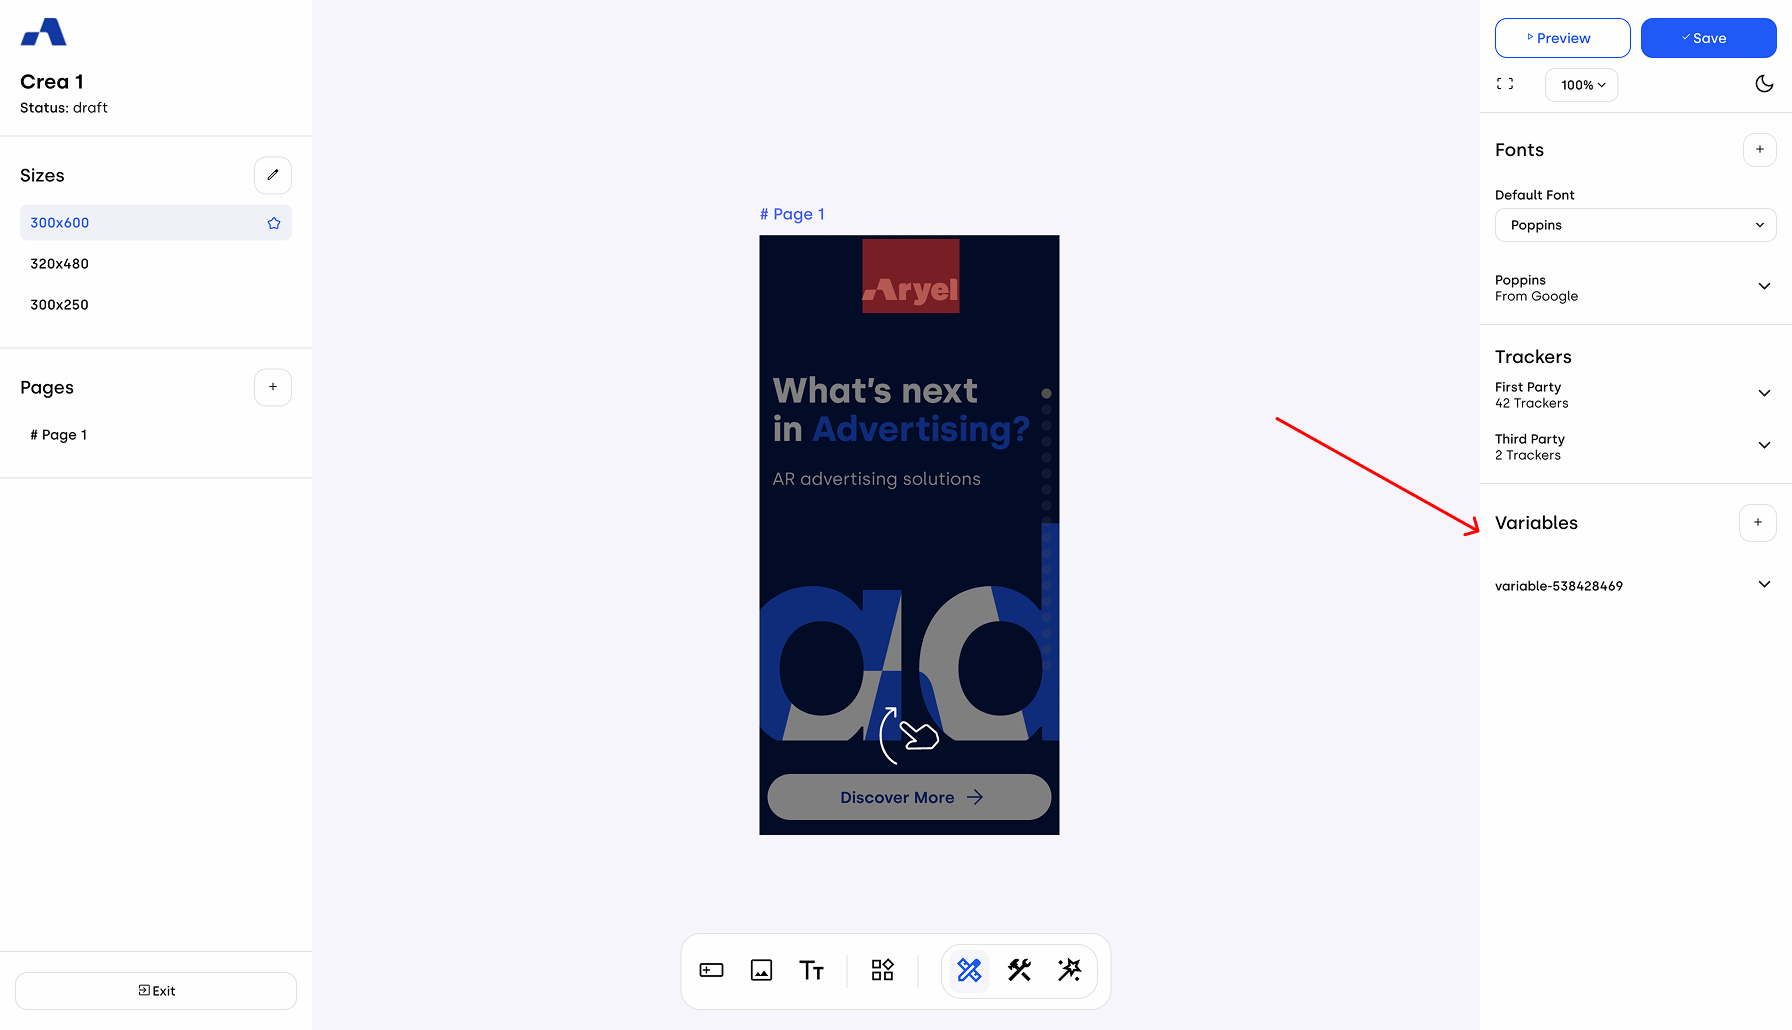
Variables are a powerful tool that lets you add advanced customization and interactivity to your ad experiences. They allow you to personalize content dynamically and respond to user input in real time.
You can find the Variables section in the right sidebar, in Designer Mode when no component is selected.
There are three main steps in using variables: creation, recall, and editing.
Creation
To create a new variable, click the + button next to the "Variables" label. This will generate a new variable entry. Click the arrow to expand it — you’ll now see the following fields:
Name: This is the name of your variable and can be edited. Choose a name that makes sense for what the variable will control. (Note: variable names must not contain spaces or hyphen.) This name is important because it will be used as a reference in the input fields where the variable will be called.
Type: This dropdown allows you to select the type of variable. You can choose from:
String
Number
Boolean
Value: This field sets the initial value of the variable.
Query Param Checkbox: Enabling this option lets the variable retrieve its value directly from the URL’s query parameters.
Query Param Name It allows you to specify the reference value that the system should retrieve from the URL query parameters.
Recall
Once created, the variable needs to be recalled from a component to become active in your ad. Here are some of the main input points where variables can be used:
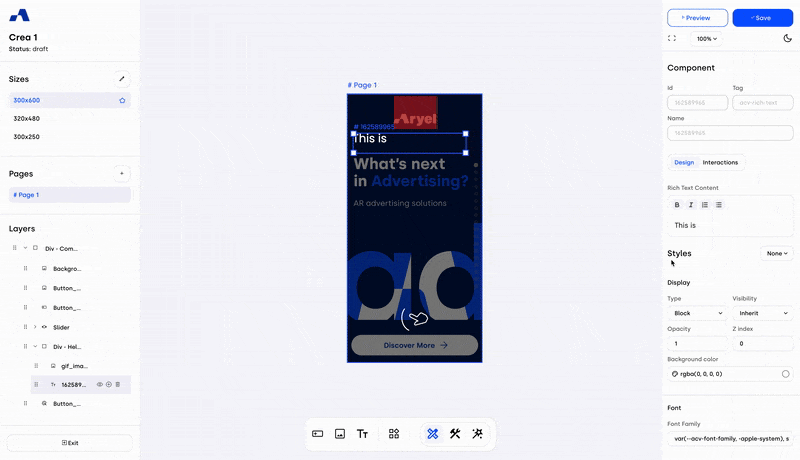
1. Rich Text/Text Component
In the Design tab of the component, under Rich Text or Text Content, you can reference your variable using double curly braces.
For example:
{{nameOfYourVariable}}
This will dynamically inject the current value of the variable into the text.
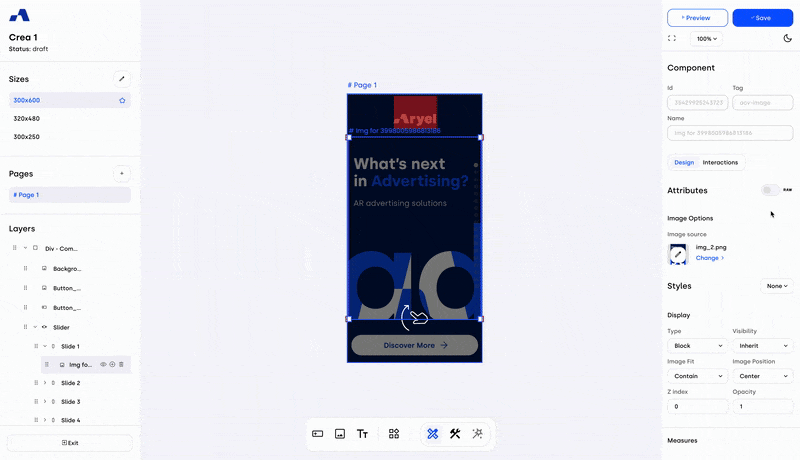
2. Image Component
You can use variables to control which asset is displayed. To do this, go to the Design tab of the image component and enable the Raw toggle. This unlocks the ability to input the variable name directly into the asset field. Format the input like this:
static/{{variableName}}.png
Make sure the asset you reference is already uploaded to the library.
3. Use Variables in ‘Go to Link’ Interactions
You can use variables to control which URL a user is redirected to when interacting with a component.
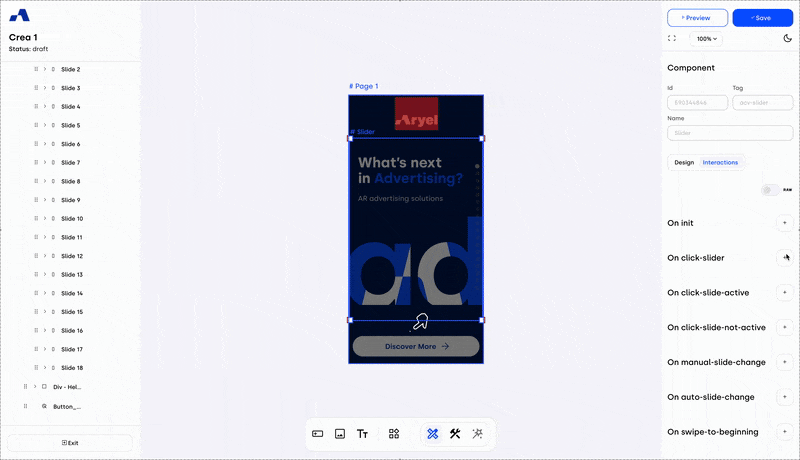
In the Interactions tab of a component that supports Go to Link (e.g. Button or Click Area):
Select the component and go to the Interactions tab.
Click + next to the desired action (e.g. on click).
In the Element field, select the correct component.
In the Do Action field, choose Go to link.
In the Link field that appears, reference your variable like this:
{{NameOfYourVariable}}
This way, the redirection will use the value currently assigned to the variable.
Editing
You can also modify, or combine variable values through interactions. Select a component, switch to the Interactions tab, and click the + button next to the event you want to trigger the variable change. In the interaction block:
Choose your Variable as the target from the Element dropdown.
In the Do Action dropdown, you’ll see three options:
Replace value: sets a new value for the variable.
Sum: adds a numeric value to the existing one.
Concat: appends a string to the existing variable value.
Once you pick one, a Value field will appear to define the new value.
You can also use this approach to change URLs dynamically. For example, assign a default URL in the variable settings. Then, following the steps explained in point 3, add a new interaction where you want to trigger the variable value editing (e.g. on slide active) select Replace in the Do Action field. Once the Value field appears, insert a different URL from the one initially assigned to the variable. This way, when the user clicks on the component where the variable has been applied, they will be redirected to the new URL instead of the original one.
Knowing how to use variables effectively lets you tailor your ad content to user behavior. It opens the door to more dynamic and personalized ads — making your creatives more flexible, smart, and impactful.